 CoreAxis ePOS
Getting Started
Registration & Login
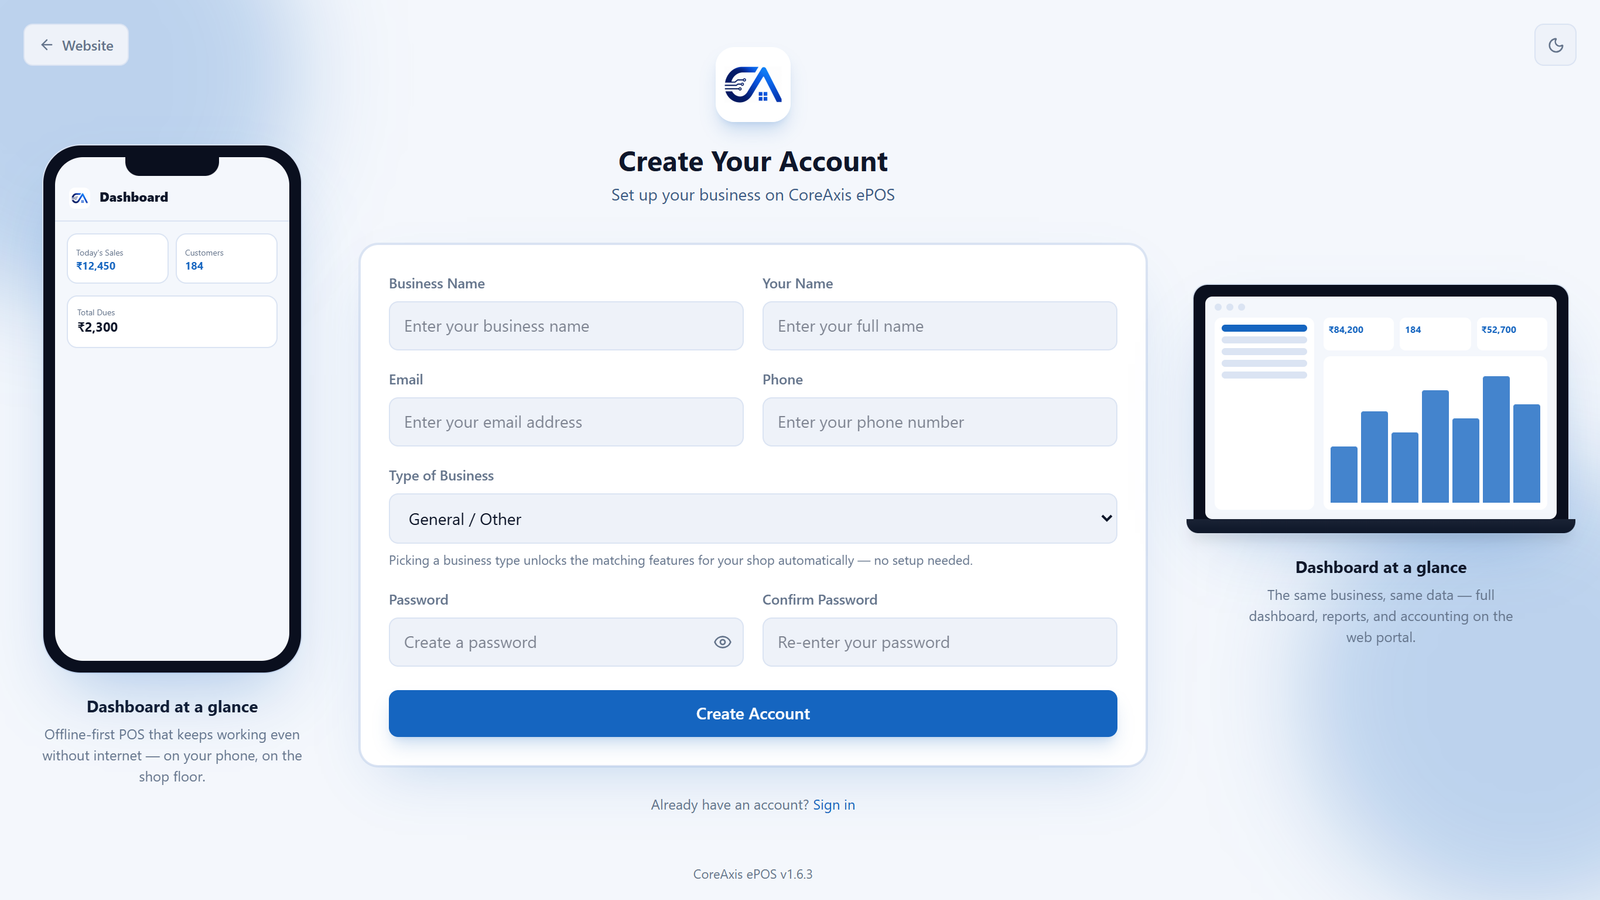
Create your CoreAxis ePOS account in under 2 minutes.
- Go to coreaxis.cloud/app/register and enter your business name, owner name, email, phone number, and password.
- Select your industry type from 23 available verticals (e.g., Retail, Pharmacy, Restaurant, Tiles & Marbles, Dairy Farm, etc.). This determines which specialised features are enabled.
- Enter your GSTIN (optional but recommended). If entered, the system auto-verifies it against the GST portal and fills in your legal name, state, and registration details.
- Complete registration. You'll receive a confirmation email and can log in immediately at coreaxis.cloud/app/login.
- On your first login, an onboarding checklist guides you through essential setup steps — business profile, first product, first sale, printer setup, etc.
Login
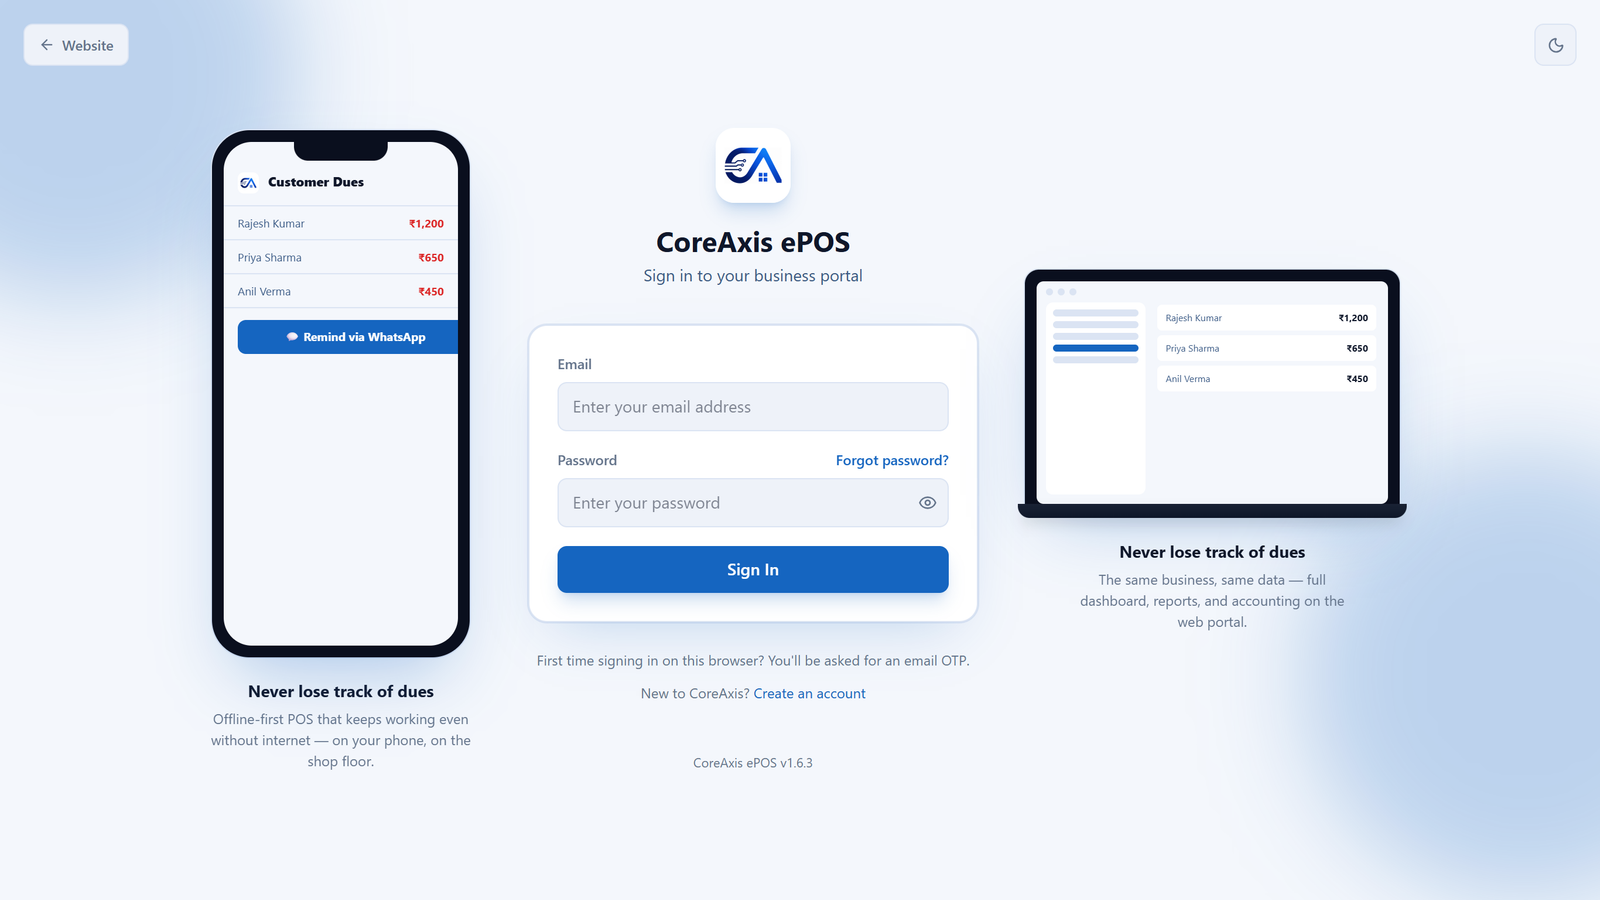
Access your CoreAxis ePOS account from any device — web browser, mobile app, or desktop app.
- Go to coreaxis.cloud/app/login (web) or open the CoreAxis ePOS mobile/desktop app.
- Enter your registered email address and password.
- If Multi-Factor Authentication (MFA) is enabled on your account, you'll be asked to enter a 6-digit OTP from your authenticator app (Google Authenticator, Authy, etc.).
- Click Login. You'll land on the Dashboard.
Alternative Login Methods
- Google OAuth: Click "Sign in with Google" to login with your linked Google account — no password needed.
- OTP Login: Enter your phone number and verify via a one-time SMS/WhatsApp OTP.
- Mobile App PIN: After your first login on the mobile app, set a 4-digit PIN for quick access. See PIN & App Lock.
Forgot Password
Reset your password if you've forgotten it.
- On the login page, click "Forgot Password?".
- Enter your registered email address.
- A password reset link is sent to your email. Check your inbox (and spam folder).
- Click the link in the email. It opens a Reset Password page.
- Enter your new password (minimum 8 characters, at least one uppercase letter, one number, and one special character).
- Confirm the new password and click Reset.
- You can now log in with your new password.
PIN & App Lock (Mobile)
Secure the mobile app with a 4-digit PIN so every app open requires authentication — even when the device is shared between staff.
Setting Up PIN
- After your first login on the mobile app, you're prompted to Set Up PIN.
- Enter a 4-digit PIN. Avoid simple patterns like 1234 or 0000.
- Confirm the PIN by entering it again.
- Your PIN is securely stored on-device using encrypted secure storage.
Using PIN
- Every time you open the app, the Enter PIN screen appears.
- Enter your 4-digit PIN to access the app.
- After 5 incorrect attempts, the app locks and requires full email/password login.
Forgot PIN
- On the PIN screen, tap "Forgot PIN?".
- You'll be redirected to the full login screen (email + password).
- After successful login, you can set a new PIN.
Installation Guide
CoreAxis ePOS is available on four platforms. Choose the one that fits your business.
Web App (No Installation Needed)
- Open Google Chrome or Microsoft Edge on your computer or tablet.
- Go to coreaxis.cloud/app.
- Register or log in to start using immediately — no installation needed.
- Install as PWA (optional): Click the install icon (⊕) in the browser address bar → "Install CoreAxis ePOS". This adds the app to your desktop/home screen and enables offline mode.
Android App (.apk)
- Go to coreaxis.cloud/download on your Android phone.
- Tap "Download Android App" to download the .apk file.
- Open the downloaded .apk file. If prompted, go to Settings → Install Unknown Apps and enable it for your browser.
- Tap Install and wait for the installation to complete.
- Open the app, select your language (English or Hindi), and log in.
- On first login, a full data sync downloads your products, customers, and settings for offline use.
- Set up your 4-digit PIN for quick access.
Desktop App (Windows)
- Go to coreaxis.cloud/download on your Windows PC.
- Click "Download for Windows" to download the .exe installer.
- Run the installer and follow the on-screen prompts.
- The app installs and creates a desktop shortcut. Launch it from the Start menu or desktop.
- Log in with your CoreAxis credentials. The app auto-updates in the background.
Local Server (Zero-Internet POS)
- Go to coreaxis.cloud/download and download the Local Server installer.
- Run the installer on the PC that will act as your server. It bundles PHP, the database, and everything needed — no manual setup.
- The server starts automatically and shows a local IP address (e.g.,
http://192.168.1.100:8000). - On each billing terminal (PC, tablet, or phone), open a browser and navigate to that IP address.
- Create your first user account on the Local Server. All billing runs on the local network — no internet needed.
- When internet returns, the server auto-syncs all data to the cloud.
Business Setup
After registration, set up your business profile under Settings → Business Profile.
- Business Details: Business name, legal name, address, state, pincode, phone, email, and logo.
- Tax Details: GSTIN, PAN, state code. These appear on all invoices and GST returns.
- Bank / UPI Details: Add your bank account name, number, IFSC, and UPI ID. These appear on invoices and enable QR scan-to-pay.
- Financial Year: Set your financial year start month (usually April for India).
Branch Setup
CoreAxis supports multi-branch businesses. Each branch maintains its own stock, sales, and reports while sharing the master data (products, customers, suppliers).
- Go to Settings → Branches.
- Click Add Branch and enter the branch name, address, phone, and GSTIN (if different from head office).
- Assign staff to branches from Settings → Team & Roles.
- Switch between branches using the branch switcher in the sidebar header.
Stock transfers between branches are handled via Stock Transfers.
Team & Roles
Invite your team and assign granular permissions.
- Go to Settings → Team & Roles.
- Click Add User — enter name, email, phone, and select a role.
- Choose a role or create a custom one. Default roles include Owner, Manager, Cashier, Accountant, Salesperson.
- Each role has a permission matrix — toggle access for each module and action (view/create/edit/delete).
- Use Staff Access to control which sidebar items each role sees.
Roles operate at three scopes: System (platform-wide), Tenant (whole business), and Branch (per-branch). See Roles & Permissions for advanced configuration.
Adding Your First Product
- Go to Inventory → Products and click Add Product.
- Enter the product name, SKU, selling price, cost price (optional), MRP, and opening stock.
- Set the tax rate (e.g., 5%, 12%, 18%, 28%) and the HSN code.
- Choose the unit (Piece, Kg, Box, etc.) and optionally set a barcode.
- Add product images by clicking the image upload area.
- Click Save. The product is now available at the POS.
Making Your First Sale
- Go to POS from the sidebar.
- Search for a product by name, SKU, or barcode — or scan a barcode using your camera/scanner.
- Click the product to add it to the cart. Adjust quantity, apply discounts if needed.
- Select a customer (optional — walk-in sales don't require one).
- Click Checkout, choose the payment method (Cash, UPI, Card, or Split), and enter the amount received.
- Click Complete Sale. The invoice is generated and can be printed, shared via WhatsApp, or emailed.
Keyboard Shortcuts (Web App)
Power users can navigate the web app without touching the mouse. Press ? to see all shortcuts from any page.
| Shortcut | Action |
|---|---|
| Ctrl+K | Open Command Palette (quick search — jump to any page, customer, product, or invoice) |
| F2 or Alt+P | Open POS (Billing Screen) |
| Alt+I | Go to Inventory → Products |
| Alt+S | Go to Sales list |
| Alt+C | Go to Customers |
| Alt+D | Go to Dashboard |
| Alt+R | Go to Reports |
| F1 | Help / Documentation |
| Esc | Close current modal or dialog |
POS-Specific Shortcuts
| Shortcut | Action |
|---|---|
| F5 | Focus product search bar |
| F8 | Open Checkout / Payment |
| F9 | Park / Hold current bill |
| F10 | Complete sale (submit payment) |
| F12 | Open calculator |
| Alt+N | New / clear cart |
| Alt+H | View held/parked bills |