 CoreAxis ePOS
Inventory
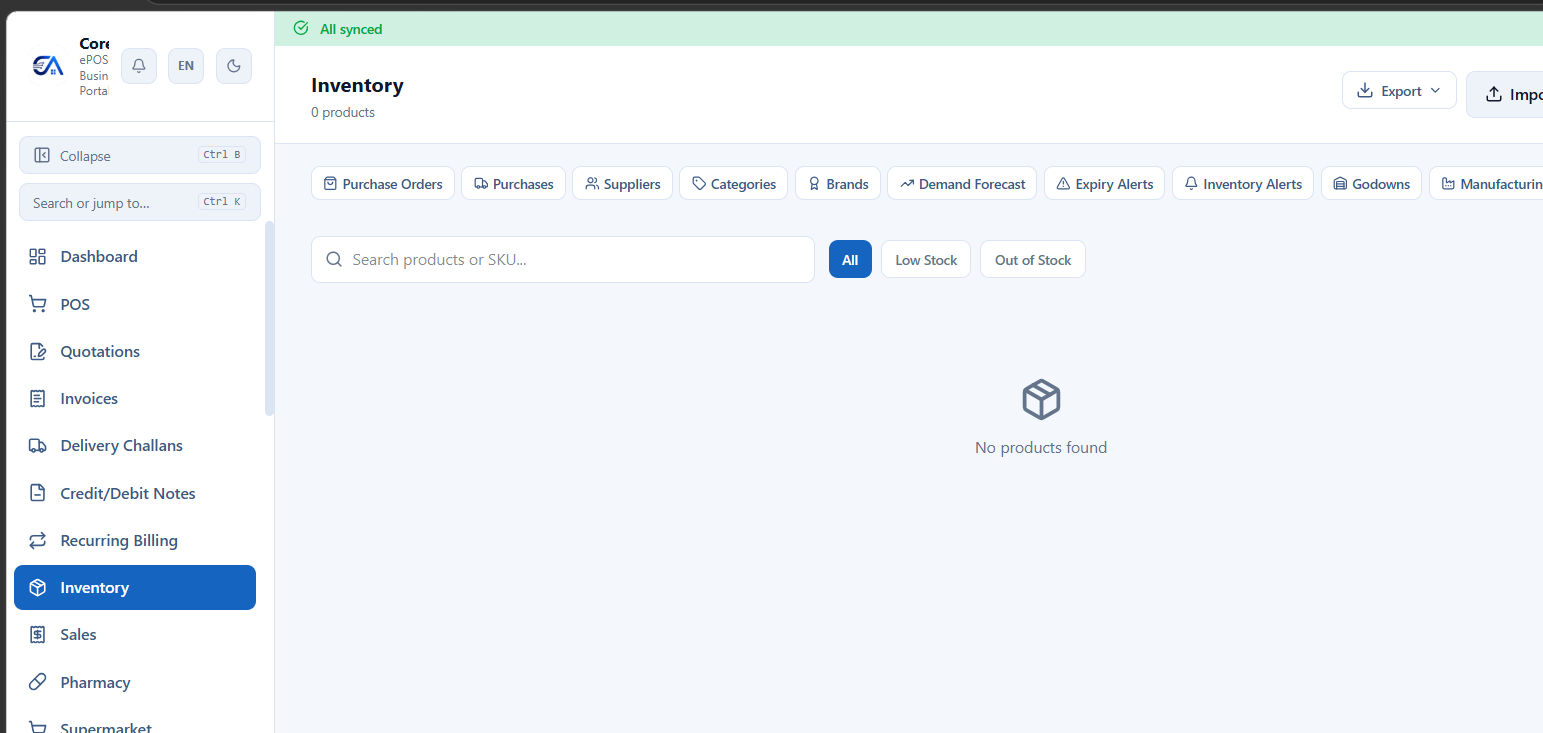
Products
Manage your entire product catalog from Inventory → Products.
Product Fields
| Field | Description |
|---|---|
| Name | Product display name. |
| SKU | Unique stock-keeping unit code. |
| Barcode | EAN/UPC barcode for scanning. |
| Selling Price | The price at which you sell to customers. |
| Cost Price | Your purchase/landed cost. Used for profit calculations. |
| MRP | Maximum Retail Price (printed on product). |
| Tax Rate | GST rate — 0%, 5%, 12%, 18%, or 28%. |
| Tax Inclusive | Whether the selling price includes GST or not. |
| HSN Code | Harmonized System Nomenclature code for GST classification. |
| Unit | Unit of measurement (Piece, Kg, Box, etc.). |
| Category | Product category for organisation. |
| Brand | Brand/manufacturer name. |
| Reorder Level | Minimum stock level — triggers low-stock alerts when stock falls below this. |
| Opening Stock | Initial stock quantity when adding the product. |
| Images | Upload multiple product images. Set a primary image. |
| Description | Detailed product description. |
Categories & Brands
- Categories: Organise products into categories (e.g., Beverages, Snacks, Electronics). Go to Inventory → Categories to create/edit/delete.
- Brands: Track product brands separately. Go to Inventory → Brands.
- Facets: Dynamic filtering attributes for advanced product discovery.
Variants
Products can have variants based on attributes like size, colour, finish, weight, etc.
- Create variant groups (e.g., Size: S/M/L/XL, Colour: Red/Blue/Black).
- Each variant combination has its own SKU, barcode, price, and stock level.
- Industry modules add specific variant types: Garments (Size/Colour Matrix), Tiles (Size/Finish/Shade), Jewelry (Weight/Purity).
Batch / Lot Tracking
Track products by manufacturing batch — essential for Pharmacy, Food, and FMCG businesses.
- Enable batch tracking on a product to track each batch with: Batch Number, Manufacturing Date, Expiry Date, Quantity.
- At POS, select which batch to sell from (FIFO recommended).
- The system sends expiry alerts for batches nearing their expiry date.
Stock Management
- Stock Adjustment: Increase or decrease stock with a reason (damage, theft, correction, gift, etc.).
- Low Stock Alerts: Configure reorder levels per product. Get alerts via dashboard, SMS, or WhatsApp when stock falls below the threshold.
- Dead Stock Report: Identify products with no sales movement over a period.
- Stock Report: View current stock across all products, branches, and godowns.
Stock Transfers
Transfer stock between branches or godowns.
- Go to Inventory → Stock Transfers → Create.
- Select source and destination (branch or godown).
- Add products and quantities.
- Submit the transfer. Stock moves from source to destination.
Godowns / Warehouses
Manage multiple storage locations within a branch.
- Create godowns from Inventory → Godowns.
- View stock-by-godown to see what's stored where.
- Transfer stock between godowns within the same branch.
Units of Measurement
Manage product units with support for compound units and conversions.
- Base units: Piece (PCS), Kilogram (KG), Litre (LTR), Metre (MTR), Box, Packet, etc.
- Compound units: Define a Box as "12 Pieces", a Carton as "24 Boxes", etc.
- Purchase unit vs Sale unit: Buy in Cartons, sell in Pieces — the system converts automatically.
- UQC codes: GST-compliant Unique Quantity Codes are included for all units.
- Industry modules add specialised units (e.g., SqFt, RFt, Peti for Tiles & Marbles).
Suppliers
Manage your suppliers/vendors from Inventory → Suppliers.
- Create suppliers with name, contact, GSTIN, address, and opening balance.
- Track supplier ledger, outstanding dues, and payment history.
- Enable Supplier Portal per supplier — gives them a self-service login to view POs and payments.
Purchase Orders
- Go to Inventory → Purchase Orders → Create PO.
- Select a supplier and add products with quantities and rates.
- Submit the PO. Optionally send it to the supplier via email or supplier portal.
- When goods arrive, Receive against the PO (creates a GRN). See GRN & Receiving.
- If needed, use the approval workflow — POs above a threshold require manager approval.
GRN & Receiving
Goods Receipt Notes (GRN) record incoming stock against a purchase order.
- Open the PO → click Receive.
- Enter the actual quantities received (may differ from ordered).
- For serialised products (IMEI, serial numbers), scan or enter each serial number.
- Submit. Stock is updated. A GRN record is created for audit.
Write-Offs
Write off damaged, expired, or stolen stock.
- Go to Inventory → Write-Offs → Create.
- Select the product and quantity to write off.
- Choose a reason: Damage, Expiry, Theft, Wastage, etc.
- Submit. Stock is reduced and the write-off is logged for audit and accounting.
Stock Audit / Physical Count
Verify physical stock against system stock.
- Go to Inventory → Stock Audit → Create Audit.
- Select the products or categories to audit.
- Enter the physical count for each product.
- The system shows the variance (system stock vs physical count).
- Click Complete Audit — stock is automatically adjusted to match the physical count.
Composite / Kit Items
Define a product as a composite/kit made from component products.
- Example: A "Gift Basket" composite containing 3 chocolates + 1 card + 1 ribbon.
- When selling the composite, the system checks component stock availability.
- Stock of each component is deducted when the composite is sold.
Import Products
Bulk-import your product catalog from CSV or Excel.
- Go to Settings → Import and select "Products".
- Download the sample template (CSV format with required columns).
- Fill in your data and upload the file.
- Preview the import — the system shows a summary with any validation errors.
- Click Execute. Products are created with the imported data.
You can also import from Tally, BUSY, or Marg ERP — the import wizard maps fields automatically. See Data Import & Export.
Low Stock & Expiry Alerts
- Low stock alerts: Triggered when stock falls below the reorder level. Visible on the dashboard and optionally sent via WhatsApp/SMS.
- Expiry alerts: For batch-tracked products — alerts when batches are nearing expiry (configurable days before).
- Configure alert preferences in Settings → Notifications → Inventory Alerts.
Price Levels
Set different selling prices for different customer segments — wholesale, retail, VIP, dealer, etc.
- Go to Inventory → Price Levels.
- Click Add Price Level — enter a name (e.g., "Wholesale", "Dealer", "Staff").
- For each product, set a custom selling price for that level (or a percentage discount from the default price).
- Assign customers to a price level from CRM → Customer → Edit → Price Level.
- When billing a customer at the POS, their price level automatically applies — the POS shows their special price.