 CoreAxis ePOS
Finance & Accounting
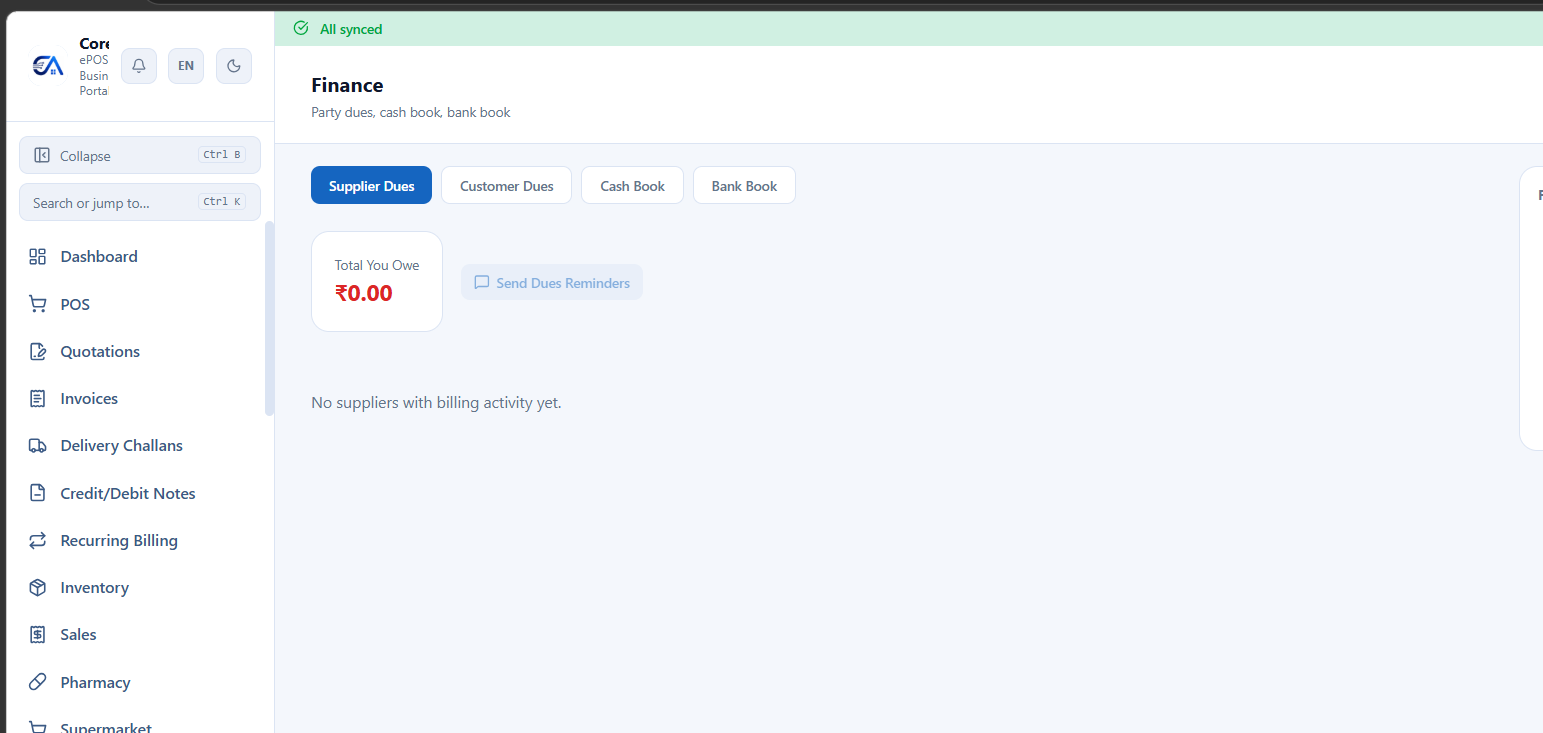
Full double-entry accounting built right into your POS — Tally-level power, without the complexity.
Chart of Accounts
The foundation of your accounting system. CoreAxis comes with a pre-built chart of accounts following the Tally-style group structure.
- Account Groups: Assets, Liabilities, Income, Expense — with sub-groups (Current Assets, Fixed Assets, Direct Income, Indirect Expenses, etc.).
- Create custom accounts under any group.
- View the Account Ledger for any account to see all transactions.
Journal Entries
Record manual accounting entries with full debit/credit precision.
- Go to Finance → Journal Entries → Create.
- Add debit and credit lines. Total debits must equal total credits.
- Add narration and date.
- Submit. The entry follows the approval workflow: Draft → Submit → Approve → Post (or Reject).
Advanced Journal Features
- Contra entries: Cash-to-bank or bank-to-cash transfers.
- Recurring journals: Set up auto-generating entries on a schedule (monthly rent, etc.).
- Reversing journals: Auto-reverse an entry in the next period.
- Multi-currency journals: Record entries in foreign currencies with FX revaluation.
- Threshold-based approval: Entries above a set amount require manager approval.
Voucher Entry
Tally-style voucher-based data entry — a single screen to record any financial transaction using the voucher paradigm.
| Voucher Type | Use Case | Example |
|---|---|---|
| Receipt | Money received from a customer or other source | Customer pays ₹5,000 against Invoice #1042 |
| Payment | Money paid to a supplier or for expenses | Pay ₹12,000 to supplier for Purchase Order #301 |
| Contra | Transfer between cash and bank accounts | Deposit ₹50,000 cash into bank account |
| Journal | Any debit/credit adjustment not covered above | Provision for bad debt ₹3,000 |
| Sales | Record a sale (auto-generated from POS) | Sale of goods to customer |
| Purchase | Record a purchase (auto-generated from GRN) | Purchase of raw materials |
- Go to Finance → Voucher Entry.
- Select the voucher type from the dropdown.
- Enter date, select the debit account and credit account.
- Enter the amount and add a narration (description).
- For bill-wise entries, allocate the amount against specific invoices.
- Click Save. The voucher is numbered automatically (e.g., RV-001, PV-001).
Trial Balance
The trial balance verifies that your books are in balance — total debits equal total credits.
- Go to Finance → Trial Balance.
- Select the date range (e.g., 1 Apr 2026 – 30 Sep 2026).
- The report shows every account with its opening balance, debit total, credit total, and closing balance.
- Click any account name to drill down into its Account Ledger — see every transaction that hit that account.
- Filter by group: View trial balance for just Assets, Liabilities, Income, or Expense groups.
- Export: Download as PDF or Excel for your accountant.
- Comparative: Compare two periods side-by-side to spot trends.
Profit & Loss Statement
- Standard P&L report showing revenue, cost of goods sold, gross profit, operating expenses, and net profit/loss.
- Comparative P&L: Compare multiple periods side-by-side (e.g., this month vs last month, this quarter vs last quarter).
Balance Sheet
- Standard balance sheet showing Assets, Liabilities, and Equity.
- Comparative balance sheet: Multi-period comparison.
- Schedule III format: Companies Act-compliant format with notes.
Cash Flow Statement
Direct-method cash flow statement showing operating, investing, and financing activities.
- Fund Flow Statement: Sources and uses of funds.
- Cash Flow Forecast: AI-driven forecast based on your historical cash flow patterns.
Expenses
- Go to Finance → Expenses → Create.
- Select expense category, amount, date, and payment method.
- Optionally attach a receipt photo.
- For staff expenses: submit for reimbursement (submit → approve/reject workflow).
Customer Receipts
Record payments received from customers.
- Go to Finance → Customer Receipts → Record.
- Select the customer and enter the amount.
- Bill-wise settlement: Allocate the receipt against specific outstanding invoices.
- View Customer Ledger for the full transaction history.
- Check Customers with Dues for a summary of all receivables.
Supplier Payments
See Supplier Payments in Purchases.
Credit & Debit Notes
- Credit Notes: Issued when returning goods to a supplier or when a customer returns goods. Can be created against one or multiple invoices.
- Debit Notes: Issued for additional charges or corrections.
- Both generate accounting entries automatically.
Delivery Challans
Track goods sent out without an invoice — for job work, stock transfers, or approval basis.
- Go to Delivery Challans → Create.
- Select type: Job Work, Stock Transfer, or On Approval.
- Add items and quantities. Submit.
- Later, convert the challan to a sale invoice when the goods are accepted.
Cheque Register
Track post-dated cheques — both received from customers and issued to suppliers.
- Record each cheque with: number, date, amount, party, and bank.
- Update status: Pending → Cleared / Bounced / Cancelled.
Bank Reconciliation
- Go to Finance → Bank Reconciliation.
- Add your bank accounts.
- Import bank statements (CSV format).
- The system auto-matches bank statement entries with your accounting transactions.
- Review and confirm matches. Manually match any unmatched items.
- View the reconciliation summary — bank balance vs book balance with unreconciled items.
Cost Centers
Track expenses across departments, projects, or locations.
- Create cost centers from Finance → Cost Centers.
- Allocate journal entries and expenses to cost centers.
- View cost center-wise reports to see where money is being spent.
Budget vs Actual
- Create annual budgets per account (e.g., budget ₹50,000/month for rent).
- The budget report shows actual vs budgeted figures with variance percentages.
Depreciation
Calculate and post depreciation on fixed assets.
- Configure depreciation schedules (straight-line, WDV) per asset.
- Run depreciation — the system auto-generates journal entries for the period.
Year-End Closing
- Go to Finance → Year-End Closing.
- Ensure all transactions for the year are posted.
- Click Close Year. Opening balances are carried forward to the next financial year.
- The closed period is locked — no further entries can be made.
TDS & TCS
- TDS (Tax Deducted at Source): Configure TDS sections (194C, 194J, etc.), apply on supplier bills, track deductions, and generate quarterly summaries.
- TCS (Tax Collected at Source): Configure TCS sections, apply on sales, and track collections.
- Auto-TDS: Configure per supplier — TDS is applied automatically on their bills.
Multi-Currency
- Create and manage foreign currencies.
- Record transactions in foreign currency — the system handles conversion at the configured exchange rate.
- Run FX revaluation to adjust for exchange rate changes.
Tally / Marg Export
- Tally Export: Export all your accounting data as Tally-compatible XML. Import directly into Tally Prime/ERP 9.
- Marg Export: Export data as Marg ERP-compatible Excel format.
- Both exports are available from Settings → Data Export.
Account & Party Ledger
Drill into any account or party (customer/supplier) to see every transaction.
Account Ledger
- Go to Finance → Account Ledger (or click any account name in the Chart of Accounts / Trial Balance).
- Select the account from the dropdown (e.g., "Cash", "Sales", "Rent Expense").
- Set the date range.
- The ledger shows every transaction: date, voucher number, debit, credit, and running balance.
- Click any row to open the original voucher/invoice.
Party Ledger
- Go to Finance → Party Ledger (or click a customer/supplier name in CRM).
- Select a customer or supplier.
- View all transactions — invoices, receipts, credit notes, debit notes — with a running balance showing how much they owe (or are owed).
- Use the Outstanding filter to see only unpaid items.
- Send Statement: Email or WhatsApp the party their account statement with one click.
Books
A consolidated view of all your financial books in one place.
- Day Book: All transactions for a single day — sales, purchases, receipts, payments, journals — in chronological order.
- Cash Book: All cash transactions (receipts and payments) with opening and closing cash balance.
- Bank Book: All bank transactions for a selected bank account. Useful for bank reconciliation.
- Sales Register: All sales invoices with GST breakup — filter by date, customer, or product.
- Purchase Register: All purchase bills with GST breakup — filter by date, supplier, or product.